2.10.3. PlantUMLでコンポーネントのレベルを揃える#
https://forum.plantuml.net/19153/trouble-with-layout-in-component-diagram で紹介された方法を試してみます。
rectangle を使って整列したいコンポーネントを制限し、その中で hidden なエッジとそのエッジの向きを指定して、コンポーネントを整列させます。 一直線上にコンポーネントを並べるためには少なくとも三つのコンポーネントを使った方が良さそうです。
この例では、[hidden]なエッジを使って、 c1-c2-c3-c4 , c5-c6 c7-c8 が縦に整列する様にしています。
@startuml
left to right direction
skinparam linetype ortho

scale 1
rectangle box3 as " " #white {
  rectangle rect2 as "   " #white;line:white {
    rectangle "component 1" as c1 #cyan
    rectangle "component 2" as c2 #cyan
    rectangle "component 3" as c3 #cyan
    rectangle "component 4" as c4 #cyan
    rectangle "component 5" as c5 #cyan
    rectangle "component 6" as c6 #cyan
    rectangle "component 7" as c7 #cyan
  }

  rectangle box1 as "  " #white;line.dotted;line:white {
    rectangle "component a" as a $a
    rectangle "component b" as b $b
    rectangle "component 8" as c8 #cyan
  }
}

c1 -- c7
c2 -- c7
c3 -- c7
c4 -- c7
c5 -- c7
c6 -- c7

c8 .r. c7

'c1-c4を縦一列に並べる
c1 -l[hidden]- c2
c2 -l[hidden]- c3
c3 -l[hidden]- c4

' c5とc6を縦一列に
c5 -l[hidden]- c6

' c5はc1より下、c6はc2の下
c1 -[hidden]- c5
c2 -[hidden]- c6

a -- b
b -- c8

hide $a
hide $b
@enduml
PlantUML Hitchhikers Guide: Layout
も役に立ちそうです。
[hidden]なラインを使わない場合の結果はこちらです。 上記の例とは c1~c6の上下方向の順序が変わっていることにも注意してください。これは left to right direction で図の方向の変更と、 要素間のライン向き指定が絡み合って、この様な違いを生じています。( このページの.rstファイルをダウンロードして、plantUMLのソースコードの違いをご確認ください。)
@startuml
left to right direction
skinparam linetype ortho

scale 1
rectangle box3 as " " #white {
  rectangle rect2 as "   " #white;line:white {
    rectangle "component 1" as c1 #cyan
    rectangle "component 2" as c2 #cyan
    rectangle "component 3" as c3 #cyan
    rectangle "component 4" as c4 #cyan
    rectangle "component 5" as c5 #cyan
    rectangle "component 6" as c6 #cyan
    rectangle "component 7" as c7 #cyan
  }

  rectangle "component 8" as c8 #cyan
}

c1 -- c7
c2 -- c7
c3 -- c7
c4 -- c7
c5 -- c7
c6 -- c7

c8 .r. c7

@enduml
PlantUMLのドキュメントページ クラス図 の「レイアウトの手助け」にある "together"キーワードも使えるようです。クラス図以外でも使えるかどうかは未調査です。
2.10.4. PNG出力(図 2.53)とSVG出力(図 2.54)の比較#
uml でオプション html_format を使って、html ライターの時の出力形式を指定できます。
指定可能な値は,'png'(default), 'svg', 'svg_img' , 'svg_obj' です。
PNG形式で表示される図の解像度を上げるためには、ピクセル数を増やすためにplantUMLのソースに"scale 4"などを追加します。 この時、PlantUMLが内部で使っている PLANTUML_LIMIT_SIZE を増やしておく必要があります。これはjava VM起動時のオプションに -DPLANTUML_LIMIT_SIZE=8192 を追加することで実現できます。 画面に表示されるサイズは別途設定が必要です。
sphinxを利用する場合は、conf.pyの中で plantuml 変数を定義する際に、このオプションを追加します。
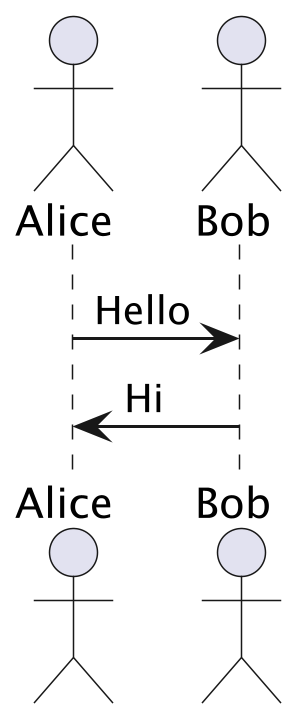
@startuml
scale 3.0

actor Alice
actor Bob
Alice -> Bob : Hello
Alice <- Bob : Hi

@enduml
図 2.53 PNG 形式出力# |
図 2.54 SVG 形式出力# |
2.10.5. 標準ライブラリ#
標準ライブラリのリスト
図 2.55 PlantUML 標準ライブラリ#
2.10.6. テーマの利用#
.. uml::
   :caption: 標準のテーマ

   a -> b
   b -> c
図 2.56 標準のテーマ#
図 2.57 spacelab テーマ#
!theme spacelab
a -> b
b -> c
2.10.6.1. 利用可能なテーマの一覧#
図 2.58 利用可能なテーマの一覧#
2.10.7. Creole#
Creole1 とどのぐらい互換性があるかを試してみます。
図 2.59 creoleのテスト#
